Transaction Grid View
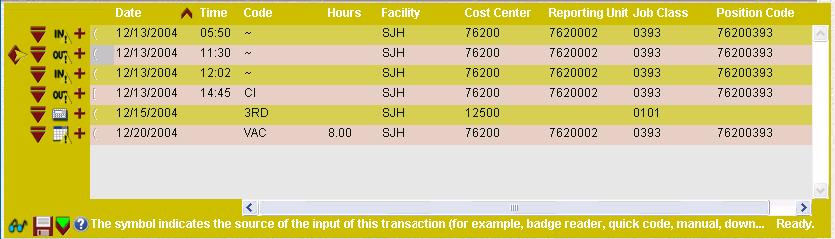
The Transaction Grid gives the user the option to view the same information on the Transaction List, but in a grid format. To enable this option, in , select the Transaction Grid button in the left pane.
Authorized users are able to add, edit, view and/or delete records from this screen. Depending on the authorization roles of the user, these transactions may need to be approved by a supervisor before they are in effect.
For more information on transactions that can be entered through this screen, click on the following links:
Note:
If a critical event message is generated due to an unfulfilled license or education requirement, employees may be unable to enter, modify or delete a clocking through this screen. The reason for the "lockout" can be viewed on or from . Contact the employee's supervisor or an administrator to resolve the issue.
The following tabs are available when viewing an existing Calendar on the Transaction Grid.
|
This tab displays basic information about this transaction, including the date, time, organization unit and labor distribution. |
|
|
This tab is used to add predefined codes explaining the reason for the calendar entry, including whether the transaction was excused or unexcused. |
|
|
This tab is used to add a notation to the calendar transaction. |
|
|
This tab displays exception messages related to the transaction. Note: Critical exceptions must be handled before the time card can be approved. |
|
|
This tab displays the difference between the original request and the new request. |
|
|
This tab displays the submitting and approval history of the request. |
Actions
The following actions are available in the left pane to authorized users for handling employee transactions.
To update the status of a transaction, check the box on the record and click on the selected action button listed below.
Approve Selected
The Approve button is used to allow the employee to take the request.
Note:
Depending on the record type, check boxes may not be available when a single record is open.
Cancel Selected
The Cancel or Cancel Selected status is used to withdraw one or more previously submitted requests.
Note:
Depending on the record type, check boxes may not be available when a single record is open.
Delete Selected
The Delete button is used to remove one or more records from a screen.
Deny Selected
The Deny button is used to inform employees that their request is not allowed.
Note:
Depending on the record type, check boxes may not be available when a single record is open.
Pending Review Selected
The Pending Review status is used to let employees know that their request has been seen, but has not yet been handled.
Pool Approve Selected
The Pool Approve Selected button sets the status of all selected pool transactions to Approved.
Pool Unapprove Selected
The Pool Unapprove Selected button changes the status of all selected pool transactions from Approved back to an unapproved state.
Set Requested Selected
The Set Requested Selected button is used to change a request that was previously set to Pending Review back to the status of Requested.